What is Sharjah Free Zone License?
Sharjah is strategically located between Dubai and the northern Emirates, offering easy access to regional and international markets. It is known for its cost-effective business setup in Sharjah, well-planned industrial and commercial zones, and strong support for SMEs and startups. This makes it an attractive hub for entrepreneurs aspiring to establish a business in the UAE.
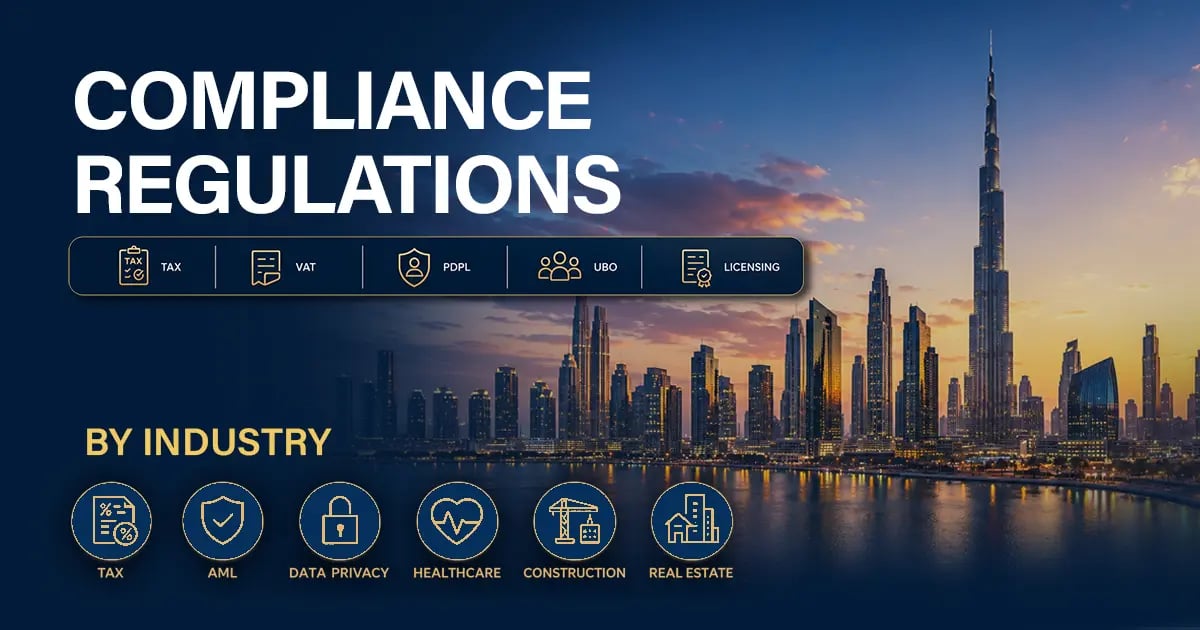
A Sharjah Free Zone license is a legal permit that allows a business to operate within one of Sharjah’s designated free zones. These zones offer several advantages, such as 100% foreign ownership, tax exemptions, and simplified regulatory procedures. Free zones are designed to attract businesses across different sectors, providing specialized infrastructure and support.
Sharjah has multiple prominent free zones, each catering to specific industries:
- SHAMS (Sharjah Media City): Focused on media, IT, creative industries, and digital startups. It is popular among freelancers, e-commerce businesses, and small enterprises looking for cost-effective solutions.
- SPC (Sharjah Publishing City): Tailored for publishing, printing, content creation, and intellectual property-driven businesses. A business setup in the SPC Free Zone supports companies in content production, books, and media publications.
- SAIF Zone (Sharjah Airport International Free Zone): Company formation in the SAIF Free Zone is ideal for trading, industrial, and service businesses. Entrepreneurs can access warehouses, office spaces, and efficient logistics solutions due to the free zone’s location near Sharjah International Airport.
- Hamriyah Free Zone: Suited for industrial, manufacturing, and logistics companies. It offers large-scale facilities and is strategically located near ports for import-export businesses.
- SRTIP (Sharjah Research, Technology, and Innovation Park): Geared towards tech startups, R&D companies, and innovation-driven enterprises. It offers incubation, innovation support, and networking opportunities.
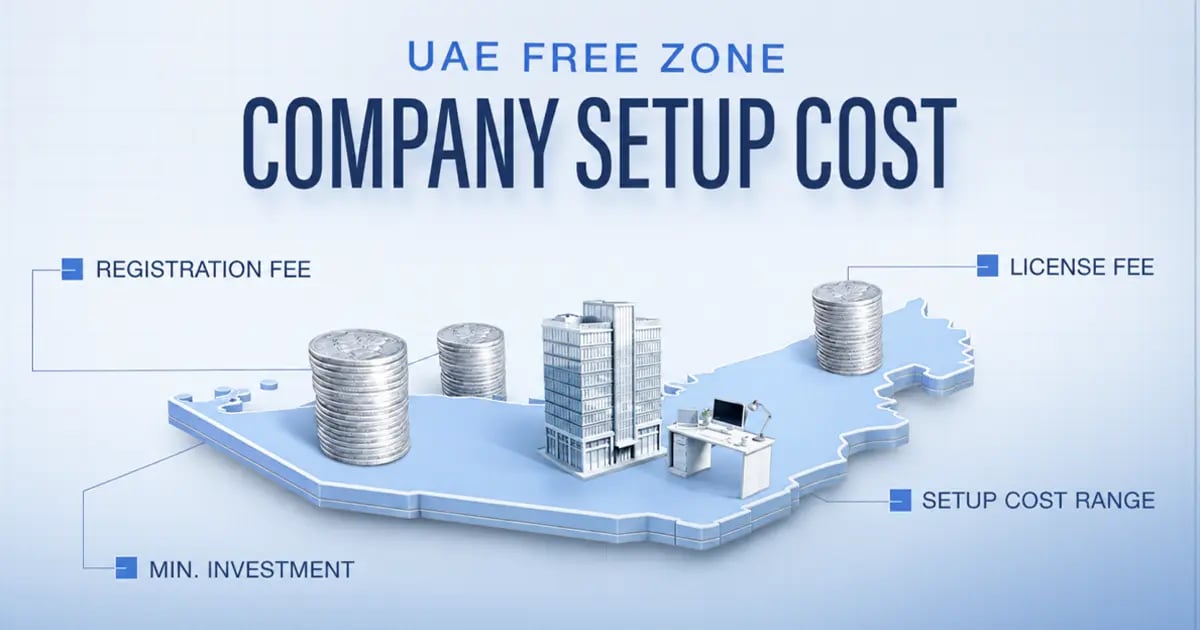
Each free zone has different rules, permitted activities, and infrastructure, which directly affect the cost of obtaining a license. Industrial zones often have higher setup fees than media-focused zones due to their specific office, warehouse, or factory needs. Selecting the right free zone ensures your business activity, budget, and growth plans are aligned.