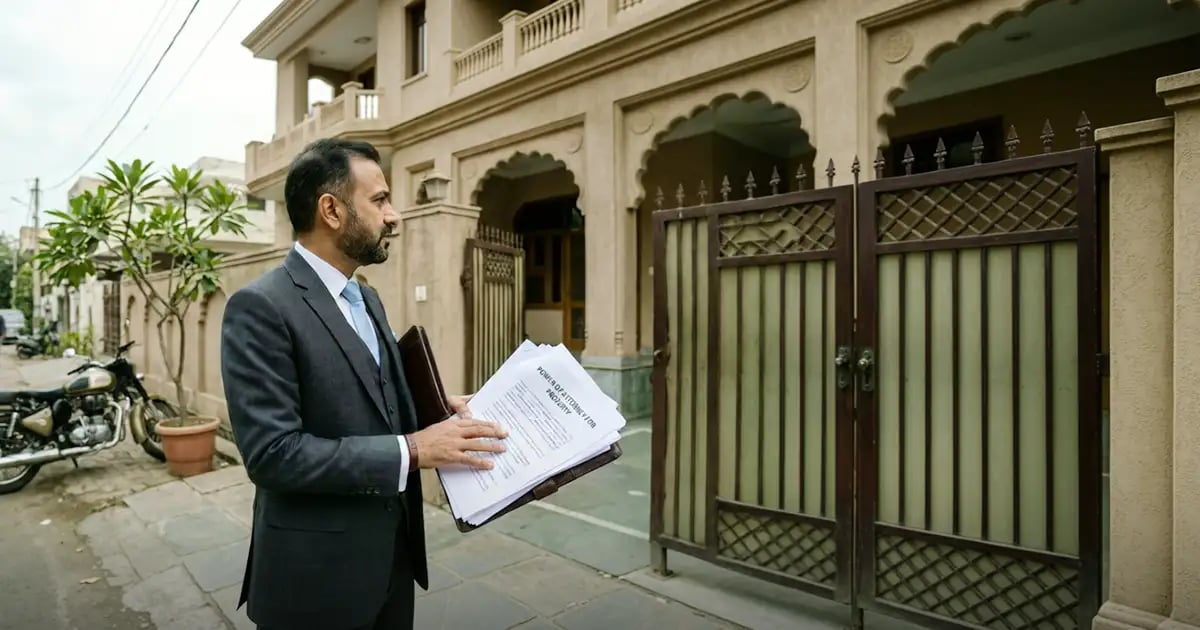
Obtaining an NRI Power of Attorney is a simple process, but it requires careful attention to detail. Here’s a step-by-step guide:
Documents Required
To get started, you’ll need a few essential documents:
- Proof of identity (passport, Emirates ID)
- Proof of address (utility bills, bank statements)
- Recent passport-sized photographs
- Clear instructions on the powers you wish to delegate
Application Process
Once you have the GPA format for an NRI, you can fill in the required details, notarize the document, and ensure it remains legally binding in both India and the UAE. This process ensures that your POA is legally binding in both the UAE and India.
Example: To grant authority for managing your home loan in India, you can use an NRI home loan power of attorney, ensuring that payments are made on time.
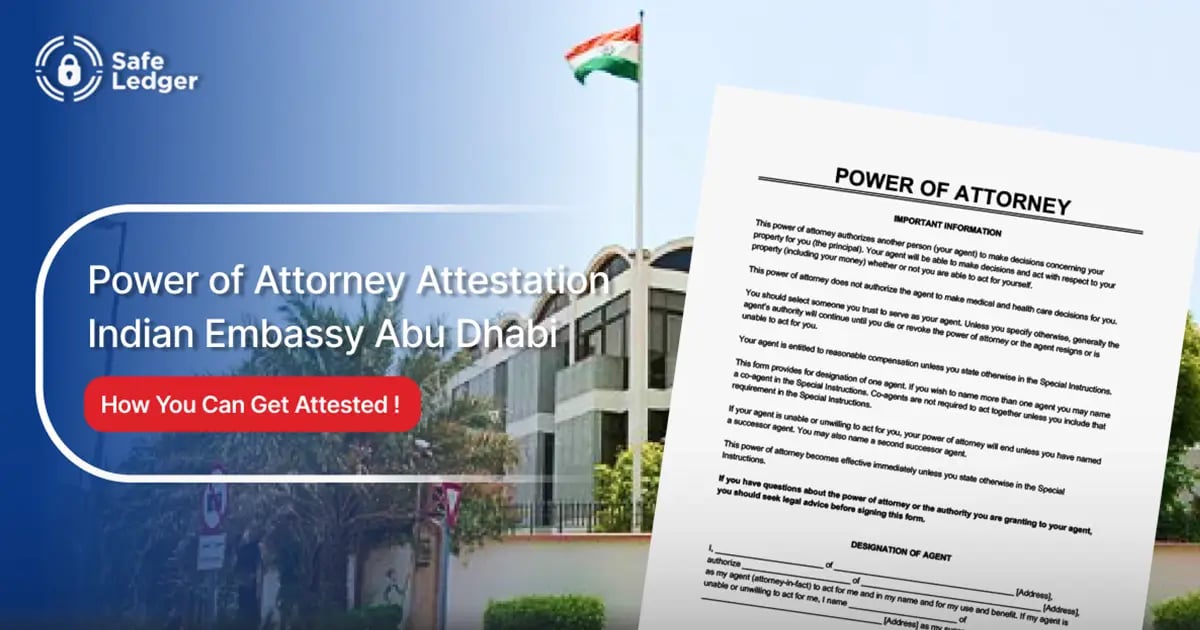
To assist with notarization and registration, you can visit the Indian Embassy in the UAE for guidance on completing these steps.
Read more: How to Make a Power of Attorney in the UAE
Common Mistakes to Avoid When Granting Power of Attorney
While setting up an NRI Power of Attorney is straightforward, there are a few common pitfalls to avoid:
- Vague Terms: Clearly specify the powers you’re granting to avoid confusion or misuse.
- Not Notarizing: NRI POAs must be notarized to be legally valid in the UAE and recognized in India.
- Not Registering in India: Registration in India is required for the POA to be valid for property and legal matters.
Always use the correct NRI POA format to comply with both UAE and Indian legal requirements.